Indian passport holders living in Dubai must follow specific steps when applying for a US visa. Getting approval requires proper documentation and following application procedures carefully. Your visa category depends on travel purpose, with most tourists needing a B2 visa. Application timelines vary based on processing workload at consulates.
Step 1: Understand Visa Types
Table of Contents
Most Indian travelers need either B1 (business) or B2 (tourism) visas when visiting America. B1 visas suit people attending meetings, conferences, or negotiating contracts. B2 visas work for vacation trips, family visits, or medical treatments.
Some Indians might require other visa types like H1B for work opportunities or F1 for educational programs. Know your travel purpose exactly before starting any paperwork. Confusing visa categories wastes time and money since each application carries separate fees. Contact visa experts when uncertain about which category matches your travel plans.
Step 2: Complete The DS-160 Form

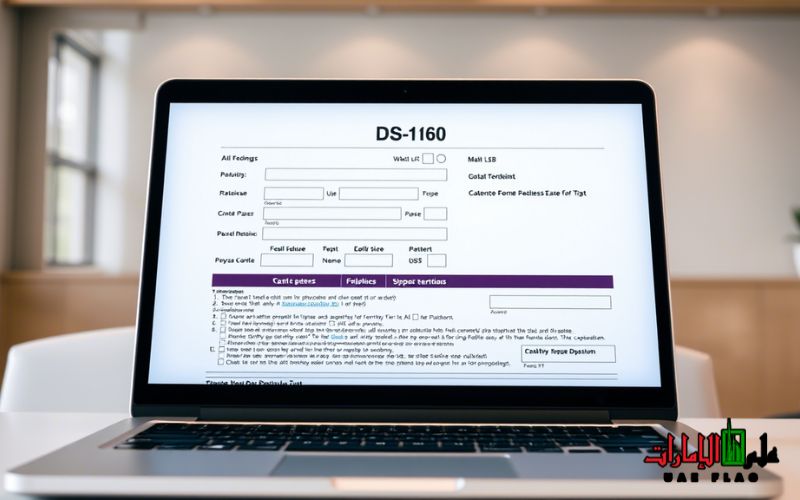
DS-160 represents your primary application document for any non-immigrant visa category. Visit the official US government travel website and create a profile before starting. Answer questions truthfully about personal information, employment history, travel plans, and security background.
Make sure saving progress regularly while working through sections. Each form generates a unique confirmation code needed during later stages. Prepare current passport details, travel itinerary, and employment information before beginning.
Photo uploads must meet strict specifications regarding size, background, and facial positioning. Submission takes approximately one hour when all information sits ready nearby.
Step 3: Pay Application Fees
Visa fees change periodically, so verify current rates on official embassy websites. Standard tourist visa applications cost around $160 USD as base fees. Payment methods include bank transfers and credit cards through approved payment partners.
Keep payment receipts safe as proof during later application stages. Extra service fees apply when using third-party visa agencies for assistance. Some premium processing options cost additional money but speed up processing times. Application fees remain non-refundable regardless of approval or denial outcomes. Convert currency rates carefully when budgeting for visa expenses.
Step 4: Schedule Appointments

US Embassy schedules fill quickly, requiring advance planning for appointments. Log into the official scheduling system using your DS-160 confirmation number and fee payment receipt. Select from available dates at US consulates in Dubai or Abu Dhabi based on your location.
Appointment waiting periods vary seasonally, sometimes extending several weeks during peak travel seasons. Arrive 15 minutes early on appointment day with proper identification.
Emergency appointment requests require proof of urgent travel necessity like medical situations. Rescheduling options exist but might push your timeline back significantly. Calendar notifications help prevent missed appointments which cause application delays.
Step 5: Prepare Required Documents
Gather all paperwork before your interview date arrives. Essential items include current passport valid for at least six months beyond intended stay, DS-160 confirmation page, appointment confirmation letter, application fee receipt, and recent photograph meeting US specifications.
Supporting materials involve financial statements proving travel funds, employment verification letters, property ownership papers, and detailed travel itineraries. Previous US visas or rejections must appear in your application package.
Family ties documentation shows your intention to return home after visiting. Organize everything in logical order inside a folder for easy reference during interviews. Make copies of all original documents as backup.
Step 6: Attend Visa Interview
Consular officers evaluate your eligibility through personal assessment during interviews. Arrive wearing professional attire that creates positive impressions. Answer questions confidently about travel purposes, duration plans, financial stability, and home country connections.
Never memorize scripted answers which sound rehearsed or unnatural. Speak honestly about previous travel experiences and visa history including any refusals. Fingerprinting and biometric data collection happen during your appointment session.
Interview sessions typically last between 3 to 5 minutes depending on case complexity. Officers make decisions based on application materials and interview responses combined. Stay calm throughout questioning even when facing difficult inquiries.
Step 7: Wait For Processing
Most applicants receive decisions within one week after interviews conclude. Passports with approved visas return through courier services to addresses provided during applications. Track delivery status using reference numbers from receipt slips.
Administrative processing cases take longer when additional background checks become necessary. Contact consulate customer service only after reasonable waiting periods pass without updates. Avoid booking non-refundable travel arrangements until visa approval arrives physically.
Some applications face delays during high volume seasons or security verification periods. Application status checks work through online portals using confirmation numbers from your original submission.
Also Read: How to Send Money to Dubai from USA
Final Words
Securing US visas requires careful preparation and attention to detail throughout every step. Start applications several months before planned travel dates allowing time for unexpected delays. Special considerations exist for Indian residents holding UK or EU residence permits who might qualify for arrival visas under certain conditions.
Consultation with immigration experts helps navigate complex situations or previous rejection cases. Remember visa approval grants permission to request entry at borders where customs officers make final admission decisions.


